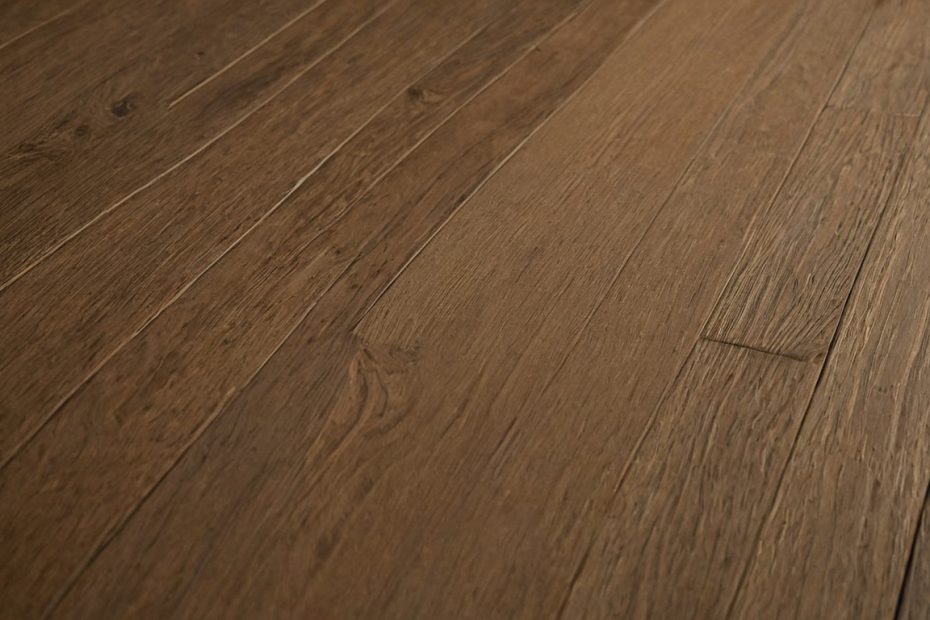
The same 12×12 room can receive two very different laminate flooring installation cost quotes because one price may count only open floor area while the other includes work hidden at edges, under old flooring, and through doorways.
What drives laminate flooring installation cost in a real remodeling quote?
Laminate flooring installation cost is driven less by boards alone and more by room conditions, subfloor prep, underlayment, trim work, transitions, disposal, and layout complexity. A fair quote separates the visible product from the labor required to make it perform.
Laminate flooring cost is usually priced by square foot but controlled by job conditions
A square-foot price is only a shortcut. In many U.S. remodeling markets, a straightforward installed laminate floor often falls around $5 to $12 per square foot, with difficult prep or premium products running higher. Labor-only installation for floating laminate floorboards often lands around $2 to $5 per square foot when the room is open, empty, and ready.
That number changes in a furnished bedroom with squeaky plywood, three doorways, a closet, old carpet tack strips, and baseboards the owner wants saved. Small jobs also distort the math because a crew still has to load tools, drive, stage materials, make cuts, clean up, and warranty the work.
A useful laminate flooring estimate separates material, labor, prep, trim, and disposal
A readable estimate should show what is included and what remains unknown. Laminate floorboards range from thin budget planks to thicker products with stronger wear layers, textured surfaces, water-resistant construction, or attached pad. A cheaper carton price can lose its advantage if the product needs separate underlayment, extra waste, or more subfloor correction.
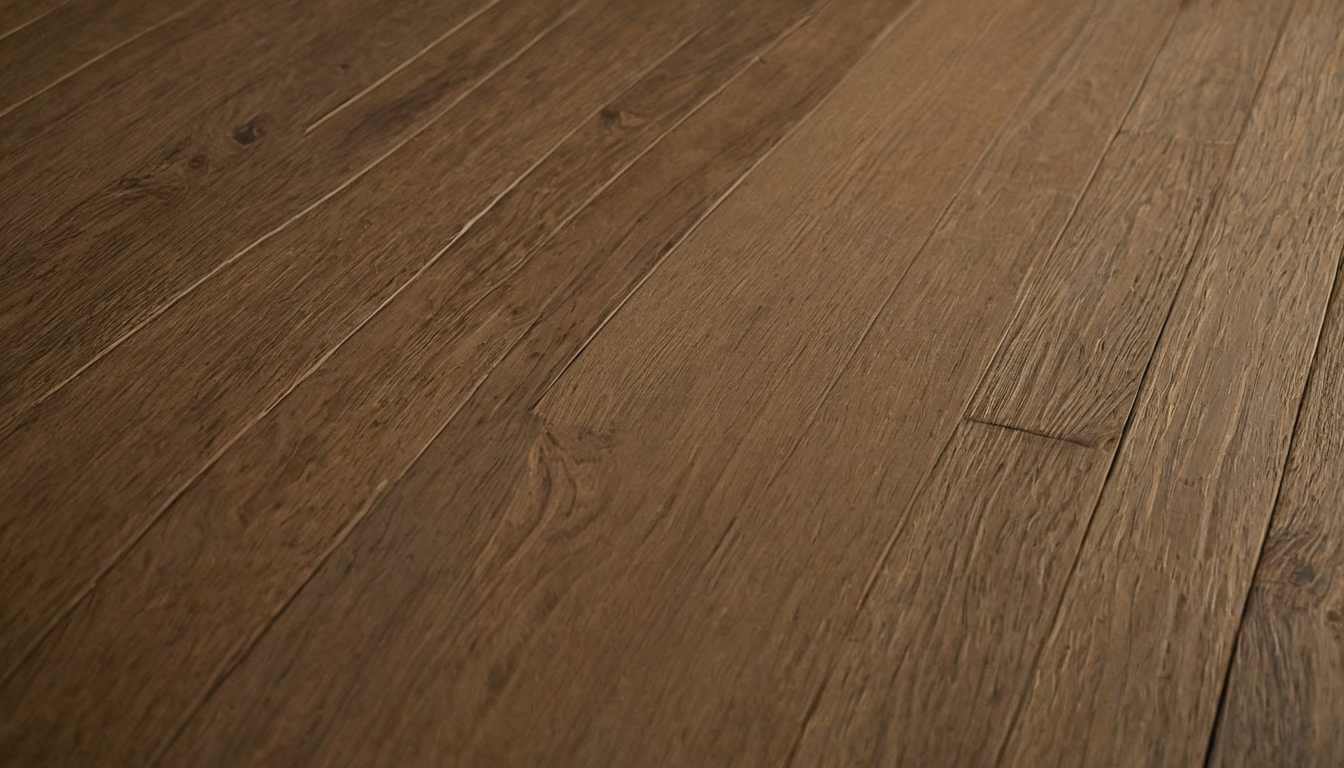
What drives laminate flooring installation cost in a real remodeling quote shown with floor, wall, and fixture relationships visible.
- Laminate floorboards: product description, thickness, color, attached pad status, and quantity.
- Installation labor: floating floor installation, layout, cuts, and locking of boards.
- Underlayment or vapor retarder: material required by the product and substrate.
- Floor prep: scraping, fastening, patching, sanding high spots, or leveling compounds.
- Trim and transitions: shoe molding, T-moldings, reducers, end caps, and door undercuts.
- Removal and disposal: old flooring removal, haul-away, tack strip removal, and dump fees.
- Exclusions: furniture moving, appliance moving, moisture mitigation, structural repair, and hidden damage.
How much should a 12×12 room laminate flooring example include?
A 12×12 room estimate should include more than 144 square feet of laminate floor coverings because the quote must account for waste, underlayment if required, trim handling, door trimming, transitions, removal, disposal, and possible subfloor correction.
A 12×12 laminate flooring quote should account for waste, not just room area
A square 12×12 room measures 144 square feet, but laminate floorboards should not be ordered at exactly 144 square feet. A straight room with simple walls often needs about 5% to 10% extra material for end cuts, starter rows, damaged boards, and pattern control.
An angled room, closet return, hallway tie-in, or diagonal layout can push waste closer to 10% to 15%. For basic conditions, a small 144-square-foot laminate flooring project often lands around $900 to $2,000 installed, depending on product grade, local labor, removal, underlayment, trim, and prep.
Small laminate flooring jobs can have minimum charges that raise the square-foot price
A one-room quote should show whether the contractor uses a minimum project charge. Many installers will not price a small room by square footage alone because mobilization and setup can take almost as much time as the first portion of installation.
- Underlayment may add material and labor when the plank does not include attached pad.
- Transition strips can add cost at doorways, tile edges, carpet edges, or exterior thresholds.
- Quarter round or base shoe can add cutting, nailing, caulking, and paint touchup labor.
- Door undercutting may be priced per door when laminate needs clearance below jambs and casings.
Subfloor flatness, moisture, and old flooring can change laminate installation cost
The subfloor is the most common hidden reason laminate flooring installation cost changes after inspection because floating laminate floorboards need a flat, dry, clean, and sound surface to protect the locking joints and product warranty.
Laminate floorboards need a flat subfloor to protect locking joints
Subfloor flatness is not the same as looking level. Many laminate installation manuals use limits such as about 3/16 inch variation over 10 feet or 1/8 inch over 6 feet, depending on the product. The installer should check the room with a long straightedge.
- High spots may need sanding, grinding, or panel seam correction.
- Low spots may need floor patch or self-leveling underlayment.
- Loose wood panels may need screws or fastener correction.
- Hollow spots after installation can signal missed dips, debris, or unsupported boards.
Minor fastening may add a small labor charge. Floor patching often runs by the bag or area. Self-leveling work can become a separate line item when a room has broad dips.
Concrete slab moisture can add testing, vapor barrier, or product restrictions
Concrete slabs create a second price checkpoint because laminate floor coverings can trap conditions under the floor. Basement slabs, slab-on-grade rooms, and newer concrete may need moisture testing, a compatible vapor barrier, or a different underlayment than a dry plywood subfloor.
If a slab edge, plumbing leak, or exterior drainage problem keeps the area damp, the floor should not hide it. The quote should identify testing, vapor retarder material, and any product restriction for below-grade or wet-adjacent rooms.
Old carpet, sheet vinyl, tile, and damaged wood create different prep costs
Existing flooring changes demolition cost and risk. Carpet and pad usually come out before laminate. Secure sheet vinyl or ceramic tile may be acceptable under some floating laminate products if the surface is flat, bonded, and clean. Damaged wood, loose tile, cushioned vinyl, and soft layers usually need removal or repair.
Older flooring needs caution before scraping or sanding. The U.S. Environmental Protection Agency advises homeowners not to sand, saw, scrape, drill, or otherwise disturb materials that may contain asbestos. If old backing, adhesive, or tile is suspect, the bid should pause for testing or qualified abatement advice.
Transitions, doorways, stairs, and room layout add labor beyond open-floor installation
Transitions and layout details often explain why two laminate flooring quotes for the same square footage differ. Doorways, closets, hallways, stair noses, floor height changes, and connected rooms require more measuring, cutting, trim fitting, and expansion planning than a plain rectangle.
Laminate transitions between rooms protect expansion space and floor height changes
Laminate transitions are not just decorative strips. Floating laminate floor coverings need expansion space at walls, fixed objects, pipes, cabinets, and many doorway conditions because the floor must move as indoor humidity changes. Many products call for roughly a 1/4-inch to 3/8-inch expansion gap, but exact requirements come from the manufacturer’s instructions.
Transition moldings also solve height changes. A T-molding is common between rooms with similar floor heights. A reducer may be needed where laminate meets lower vinyl, concrete, or thin carpet. An end cap or threshold often finishes laminate at exterior doors, hearths, tubs, cabinets, or sliding door tracks.
Typical material pricing can vary from about $15 to $60 or more per transition piece, with stair noses often higher. Labor rises when pieces must be scribed to uneven walls, cut around old door casing, or matched across several connected rooms.
Laminate flooring layout direction affects cuts, waste, and visible seams
Laminate flooring layout direction should be decided before the quote is final. Installers often favor the longest visual run, the main hallway direction, or the main light source, but connected rooms can force a compromise.
- Ask where the first row starts. A narrow sliver along the most visible wall signals weak layout planning.
- Ask how plank ends will be staggered. Most laminate systems require minimum end-joint spacing and minimum plank lengths.
- Ask how closets and angled walls are counted. Small spaces create more cuts, more waste, and slower fitting.
- Ask whether door jambs will be undercut. A clean installation usually slides laminate under casing instead of notching every plank around trim.
Stairs and stair noses should be priced separately from flat flooring
Stairs should not be assumed inside a basic laminate flooring installation cost. Stair work is commonly priced per tread, per step, or as a separate labor line because each tread and riser requires layout, nosing, adhesive or approved fastening, and closer safety checks than flat flooring.
Laminate on stairs also depends on product compatibility. Some laminate lines allow stair installation only with matching stair noses and specific fastening methods. Others are intended for floating floors only and may not be approved for stair treads. A quote should name the stair nose material, number of steps, landing pieces, riser treatment, and old carpet removal.
Low-cost laminate floor coverings can create hidden installation costs
Budget laminate floor coverings can work well in dry, moderate-traffic rooms, but the lowest shelf price does not always create the lowest installed cost because thin planks, fragile locking edges, missing attached pad, moisture limits, and strict substrate rules can shift money into prep and accessories.
Cheap laminate may need separate underlayment, better floor prep, or more waste
Product specifications change the bid. A thinner laminate floorboard may show small subfloor flaws more easily than a heavier plank, and an entry-level wear rating may not suit pets, rolling chairs, or busy hallways. A product without attached pad needs a separate underlayment line, and a product with attached pad may still require a vapor retarder over concrete.
Lower-cost laminate can chip at cut edges, resist tight locking, or break during tapping if the plank profile is weak. That can raise the waste allowance around closets, angled walls, and door jambs. Indoor product planning should also consider air quality, since the U.S. Environmental Protection Agency lists building materials and furnishings among common indoor sources of volatile organic compounds.
Water-resistant laminate still has installation limits in wet areas
Water-resistant laminate is not the same as a waterproof room assembly. Kitchens, entries, laundry rooms, bathrooms, basements, and below-grade rooms depend on the written product instructions, not the label on the carton. Some products require perimeter sealing, approved underlayment, expansion space, prompt spill cleanup, or exclusion from full bathrooms and damp slabs.
Warranty language is the quote checkpoint. Ask the installer to match the laminate flooring installation cost to the product rules for acclimation, underlayment, moisture testing, expansion gaps, approved rooms, and edge sealing.
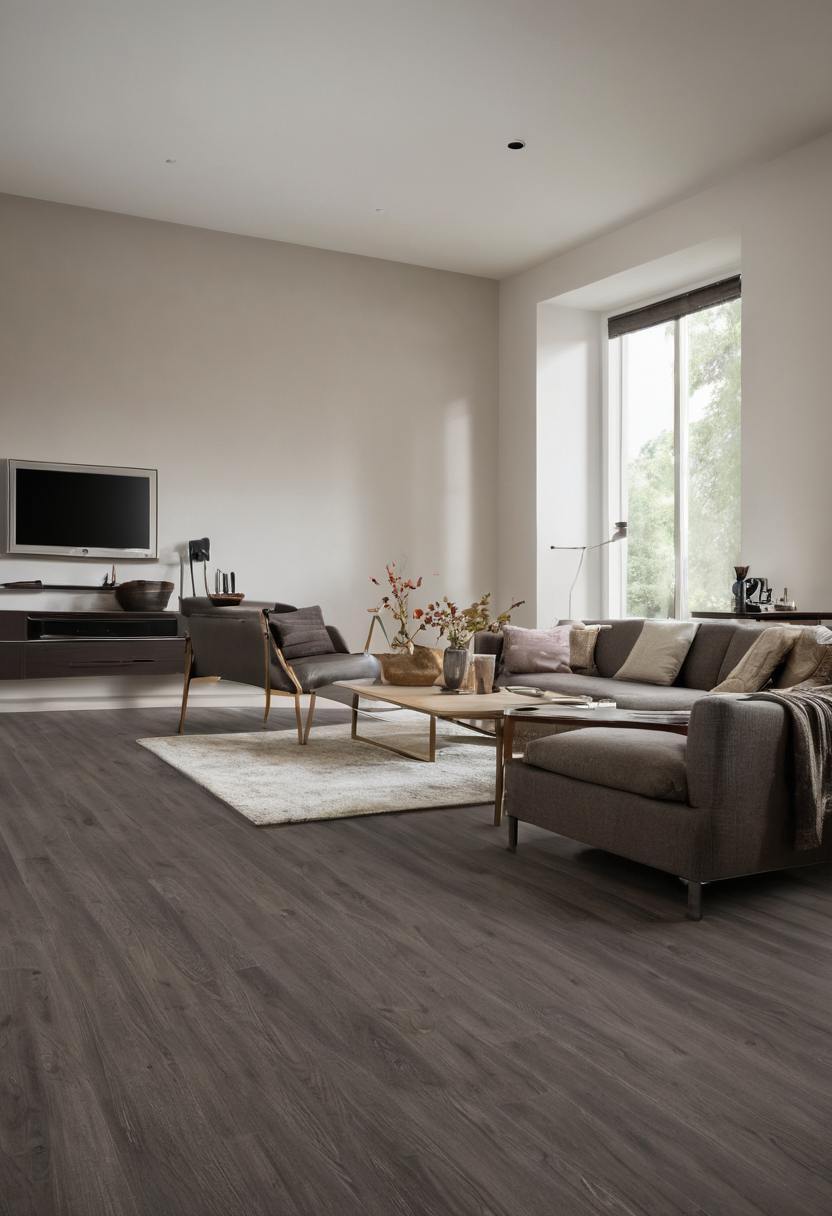
Low-cost laminate floor coverings can create hidden installation costs shown as an editorial reference for proportion and finish coordination.
A laminate flooring bid should list the scope homeowners can verify
A good laminate flooring bid gives the homeowner verifiable scope, not just a lump-sum price, by identifying square footage, product, underlayment, prep assumptions, trim handling, transitions, furniture moving, demolition, disposal, schedule, warranty, and hidden-condition rules.
Homeowners should compare laminate flooring bids line by line, not only by total price
Bid comparison should start with the same room measurements and the same laminate floorboards. Ask each installer to list material description, measured square footage, waste allowance, labor, underlayment, vapor barrier if needed, baseboard or shoe molding work, transition strips, door trimming, removal, disposal, furniture moving, appliance moving, payment schedule, and warranty terms.
Warranty language matters because product coverage, installer workmanship coverage, and manufacturer installation compliance are separate issues. A low laminate flooring installation cost can lose value if the bid omits required underlayment, moisture checks, expansion space, or approved trim details. Compare this flooring scope against broader remodeling budget priorities before shifting money away from prep.
A clear change-order policy protects both homeowner and installer
Change-order language should name conditions that may raise the price after removal starts: subfloor leveling, rot, loose panels, damp concrete, plumbing leaks, asbestos-suspect flooring, unexpected floor-height conflicts, or unsafe demolition. The EPA states that moisture control is the key to mold control, and EPA guidance also advises fixing plumbing leaks and drying wet materials before covering them.
A fair change order should include photos, measurements, the proposed fix, added cost, schedule impact, and homeowner approval before extra work proceeds.
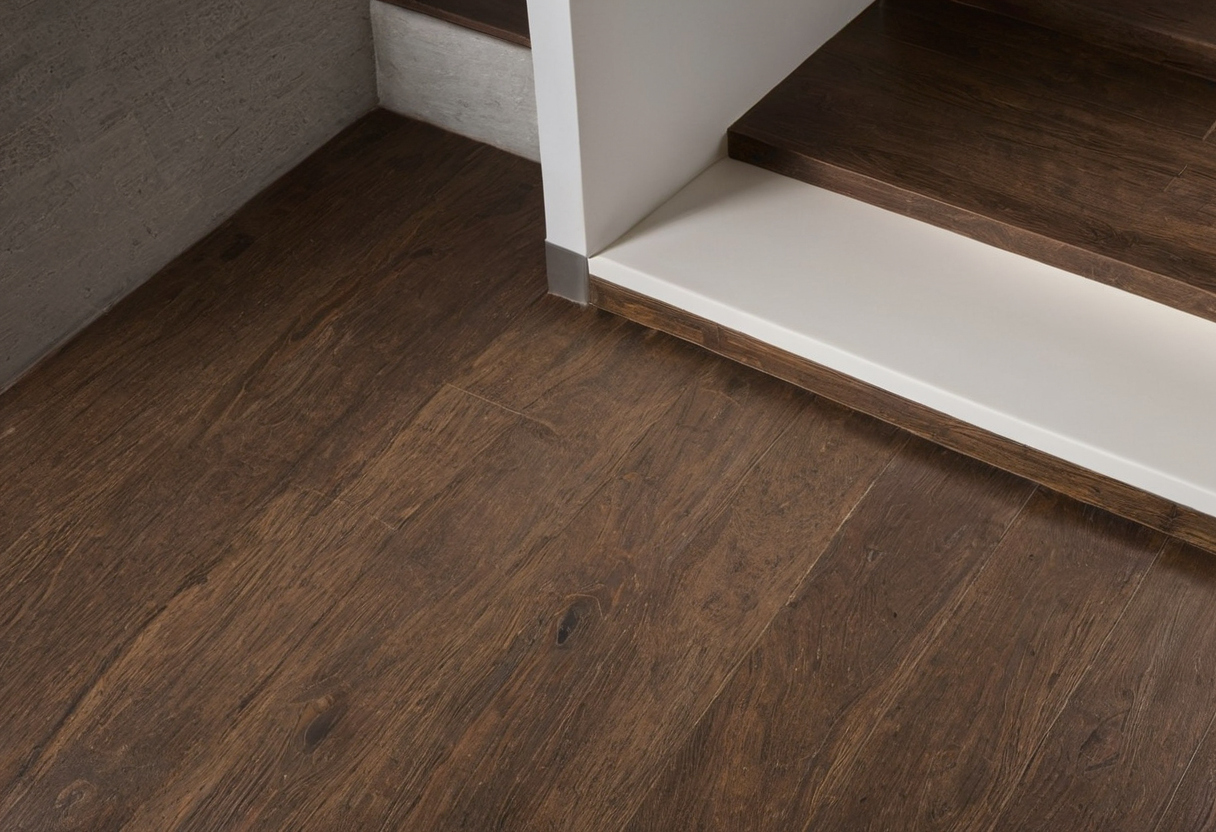
A laminate flooring bid should list the scope homeowners can verify shown as an editorial reference for proportion and finish coordination.
Homeowners can inspect laminate flooring installation quality before final payment
Homeowners do not need to be flooring experts to check the most important laminate installation details before final payment because movement, gaps, trim, transitions, door jamb cuts, plank staggering, visible humps, and product documents can all be reviewed during a careful walkthrough.
A final walkthrough should happen in normal room lighting and again with light coming across the floor from a window or lamp. Low side light makes raised edges, dips, chipped corners, and uneven cuts easier to see. Walk the room in socks and listen for clicking, crunching, or hollow spots that were not discussed before installation.
Final walkthrough checks should focus on movement, gaps, trim, and transitions
Laminate floorboards need room to move at walls, cabinets, pipes, and fixed objects, but that expansion space should be covered cleanly by baseboards, shoe molding, or trim. Visible gaps in the walking surface, tight boards pinched against a fixed object, or trim that forces the floor down deserve a correction request before final payment.
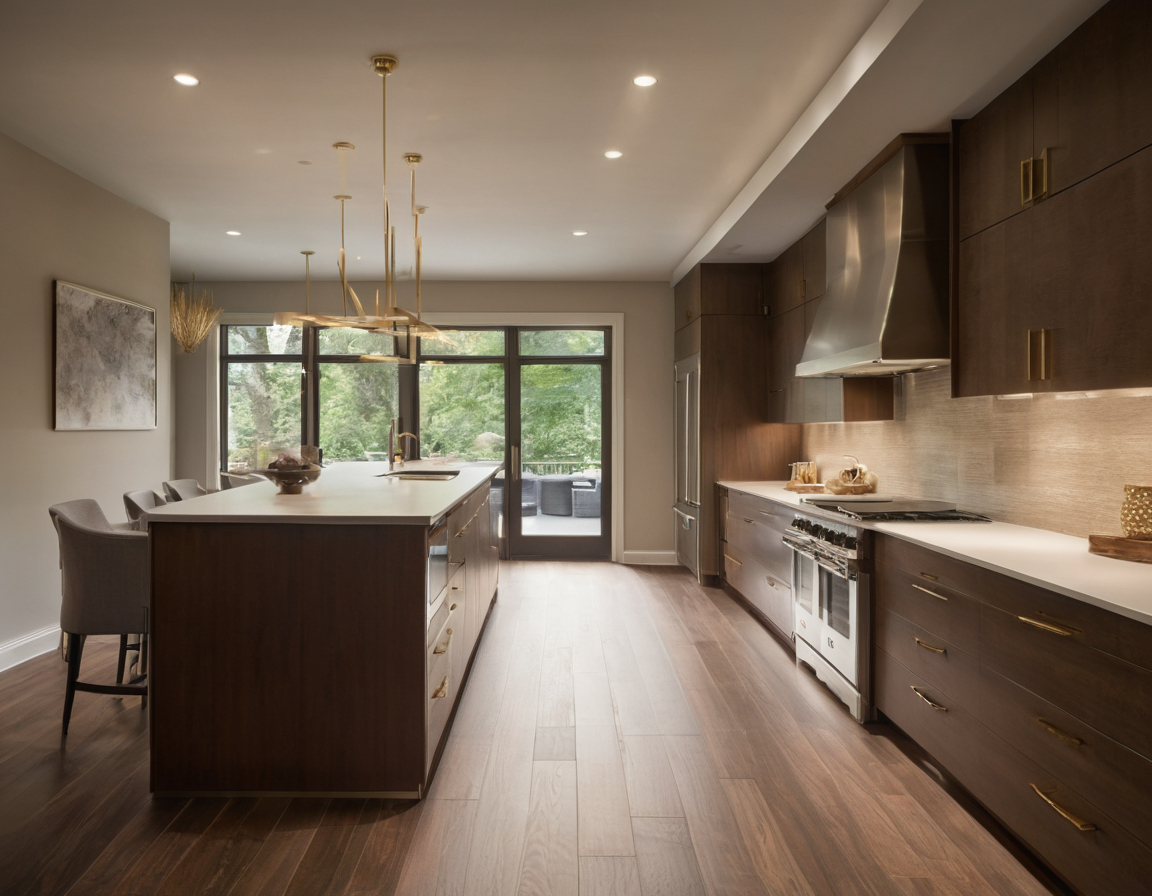
Homeowners can inspect laminate flooring installation quality before final payment shown as a planning reference for layout, scale, and material decisions.
- Movement: Step through traffic paths, doorway areas, and the center of each room. Bouncing, separated joints, or repeated clicking may point to uneven subfloor prep or a locking-joint problem.
- Joints and stagger: Look for end joints that line up too closely, short sliver pieces at walls, or open seams.
- Door jambs: Laminate should slide neatly under undercut casing where practical. Heavy caulk blobs or jagged cuts often signal rushed fitting.
- Transitions: Reducers, T-moldings, stair noses, and thresholds should sit secure, cover required movement space, and avoid sharp height changes.
- Immediate concerns: Standing water, wet underlayment, swelling edges, loose stair noses, open seams, and trip hazards should be corrected right away.
Photos and product documentation help preserve laminate flooring warranty rights
Warranty protection depends on matching the installed floor to the product instructions. Homeowners should keep product labels, leftover laminate floorboards, carton ends, underlayment information, transition details, installer invoices, and any moisture test or subfloor prep notes.
Moisture records matter because laminate floor coverings can conceal a problem once furniture returns. After a leak or spill affecting building materials, the U.S. Environmental Protection Agency recommends drying wet or damp materials within 24 to 48 hours to help prevent mold growth, as explained in its brief guide to mold, moisture, and your home.
Before final payment, ask the installer for the care guide, product warranty document, approved cleaner type, and room restrictions that apply to kitchens, baths, laundry rooms, or slab areas.
FAQ
How much does it cost to put laminate flooring in a 12×12 room?
A basic 12×12 laminate flooring project often costs about $900 to $2,000 installed, but the room may price higher if it needs old flooring removal, leveling, underlayment, transitions, door trimming, or trim replacement.
How do contractors charge per square foot to install laminate flooring?
Contractors often use a square-foot labor rate for open flooring, then add separate lines for material, waste, underlayment, demolition, disposal, floor prep, trim, transitions, stairs, furniture moving, and minimum project charges.
How should laminate flooring transition between rooms?
Laminate should transition with the molding required for the condition. T-moldings usually handle similar-height rooms, reducers handle height changes, and end caps or thresholds finish fixed edges such as exterior doors, hearths, and sliding door tracks.
How do you determine the best layout direction for laminate floorboards?
The best layout direction usually follows the longest visual run, main hallway direction, or dominant light source, but the installer must also avoid narrow slivers, poor end-joint staggering, and awkward cuts through connected rooms.
What hidden conditions can increase laminate flooring installation cost after the quote?
Common hidden cost triggers include uneven subfloors, loose panels, damp concrete, plumbing leaks, old flooring removal, asbestos-suspect materials, door undercutting, floor-height conflicts, stairs, and extra transitions.